Installing Artificial Turf
Excavation and Base Construction
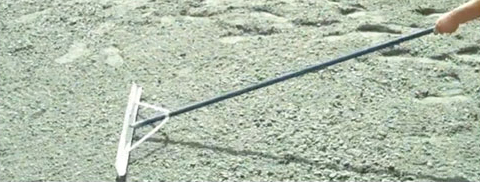
Remove old sod/dirt to a depth of 4″. Lay down landscape fabric over entire project area. Place 2″ of 3/4″ road base over entire area, rake evenly, water thoroughly and compact with plate tamper (compactor). Place another 2″ of ¾” road base over project area, rake evenly, water thoroughly, and compact. Be sure there are no low spots within the area of the Artificial Grass.
Surfacing
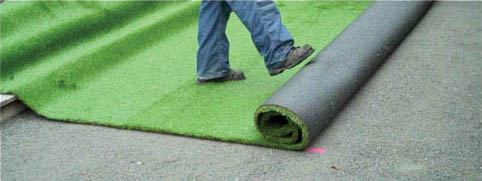
Lay artificial grass over project area. Preferably keep fibers facing same direction (never opposite direction. 90 degrees is okay).
Seaming
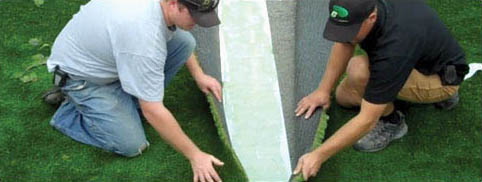
Cut off factory excess two – three tufts in. Try and line seams up as best as possible. If you have to, cut one piece of turf to the other getting the backing of both pieces as close as possible to one another without overlapping. Lay seam tape half under one piece and half under the other. Fold turf away from seam and pour glue. Spread glue evenly with glue spreader. Let glue get tacky and lay pieces back down. Be careful not to bury any fibers or get glue on the fibers. Nail seam every hammer length on both sides with 5″ galvanized spiral spikes. Be sure not to bury any fibers or create any indentations in the base.
Sand Filling
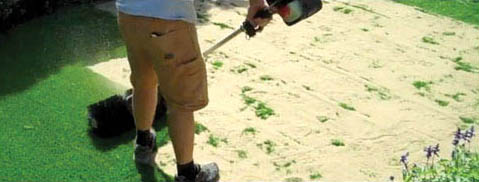
Empty sand bags into a wheel barrow. With a flat headed shovel spread the sand around as evenly as possible. One shovel head should do 2-3 linear feet. Use a rake, stiff bristled push broom or a power broom to drop the sand into the fibers. Run the chosen tool in the opposite direction that the fibers are laying and it will drop the sand in and stand the fibers up. Do another lighter “touch up layer” to thicken the sand in-fill and even it out at the same time. Get the fibers standing straight up so that there is no more direction to it.
Recommended Installation Tools
- Flat Head Shovel(s)
- Wheel Barrow
- Asphalt/Landscape Rake
- Exacto Knife
- Compactor (Plate tamper)
- Rake or Stiff Bristled Broom or Power Broom
